Overview
There will be times when you have added many new products into the App and all of them have multiple different price points associated with them. For example: purchase price, sale price for single unit, sale price for multiple units, sale price for staff, sale price (and sales tax rate) for export sales, sale price (and sales tax rate) for domestic sales etc. Rather than work through the pricing area of each new Stock Item individually, follow the instructions below to download a spreadsheet and import the prices in bulk.
Similarly there will be times when you will want to update the sales and/ purchase prices of many products at once. Again downloading and importing a spreadsheet incorporating these changes is the most efficient way to complete this task.
In this document:
Importing Prices in Bulk
Go to Stock Item Prices in the Settings > Buy and Sell area. Click ‘Import’ at the top of the page. Choose the format you wish to upload the file from, e.g. CSV or Excel, then click the ‘Download template’ button. This will download a spreadsheet like the following:

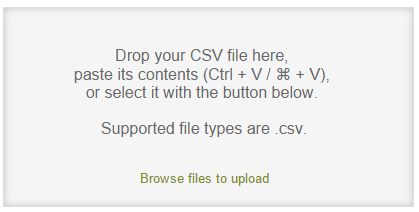
Input or copy your pricing information into this spreadsheet. Use the sample data provided as a guide. However make sure you delete this sample data before uploading the spreadsheet back into the App. Once completed drag or copy and paste your spreadsheet back into the App onto the following block.
Review your data and click ‘Import to Vinsight’ to complete the import.
Editing Prices in Bulk
If you wish to bulk edit existing prices, go to Stock Item Prices in the Settings > Buy and Sell area. Click ‘Download’ at the bottom of the page to download a spreadsheet of your existing Stock Items and their pricing details. Edit this spreadsheet as necessary, then drag and drop the edited spreadsheet (or copy and paste) as detailed above. As well as saving a lot of re-typing, doing it this way ensures that you edit existing entries, rather than add new ones.
Note, any prices added to the prices list for a Stock Item under the type ‘Sales’ will appear as drop-down options when creating a Sales Order for that Stock Item. Those added under the type ‘Purchases’ will appear as drop-down options when creating a Purchase Order for that Stock Item. If there is only one price of the type ‘Sales’ / ‘Purchases for a Stock Item, any Sales Order / Purchase Order for that item will auto-fill with that price.
For subscription levels that don’t support price books, you can define one sale price, then if needed you can override that price in each sales order. Purchases will auto-suggest the standard cost as the purchase price.
Managing Customer Pricing
Auto-fill Prices on Orders for Specific Customer
You can make a price or discount specific to a particular customer, by simply filling in the Contact Code column in the Stock Item Prices spreadsheet.
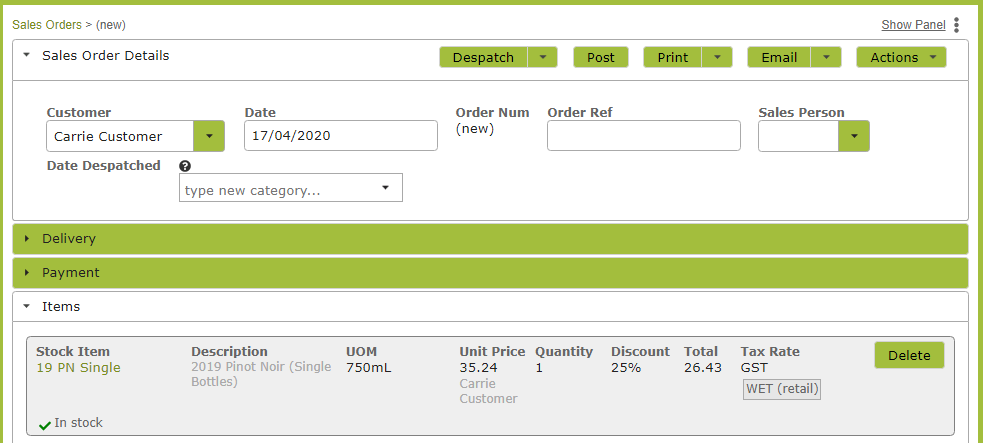
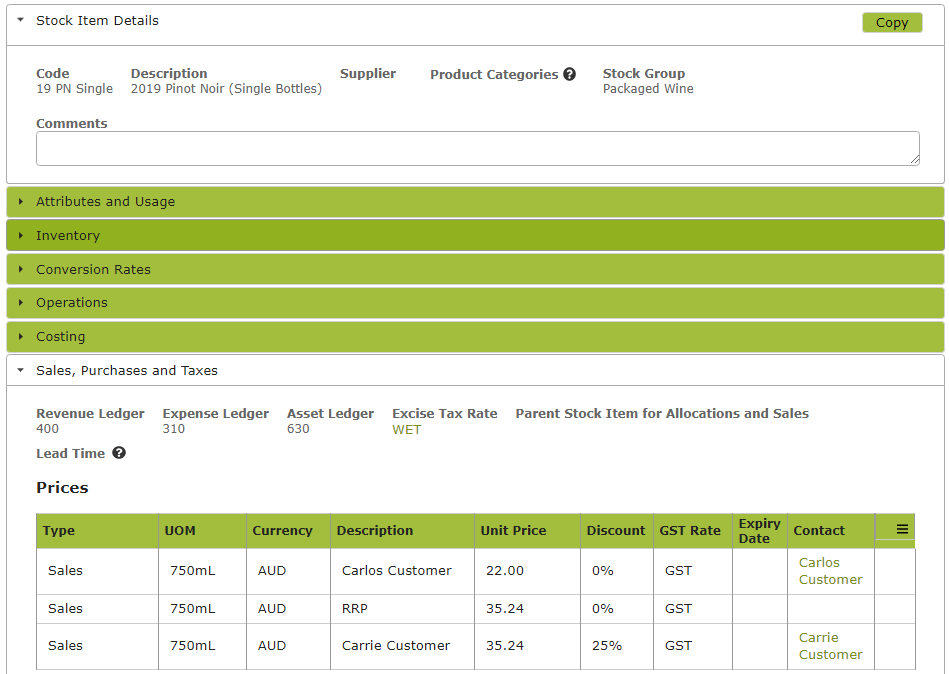
In the following example, we have downloaded the price for 19 PN Single and then added a 25% discount only for customer, ‘Carrie Customer’ and a different specific price for customer ‘Carlos Customer’.

‘Entry Num’ Column:
You will see that the first row in the spreadsheet above includes a value for ‘Entry Num’. This is because it is an existing entry that has been downloaded. If you make a change to this row, it will edit the existing price. If the value for ‘Entry Num’ is blank, importing the row it will create a new price. You can see this when you upload this spreadsheet. During the validation process for the above spreadsheet you would see that the first row is being updated, but two new entries are being created for the rows without an Entry Num.

After uploading the spreadsheet above, when creating a Sales Order for ‘Carrie Customer’ for ’19 PN Single’ the Sales Order will auto-fill with the price and discount listed.
You will also be able to see these prices in the ‘Sales, Purchases and Taxes’ area in the relevant Stock Item.
Auto-fill Prices On Orders For Categories of Customers
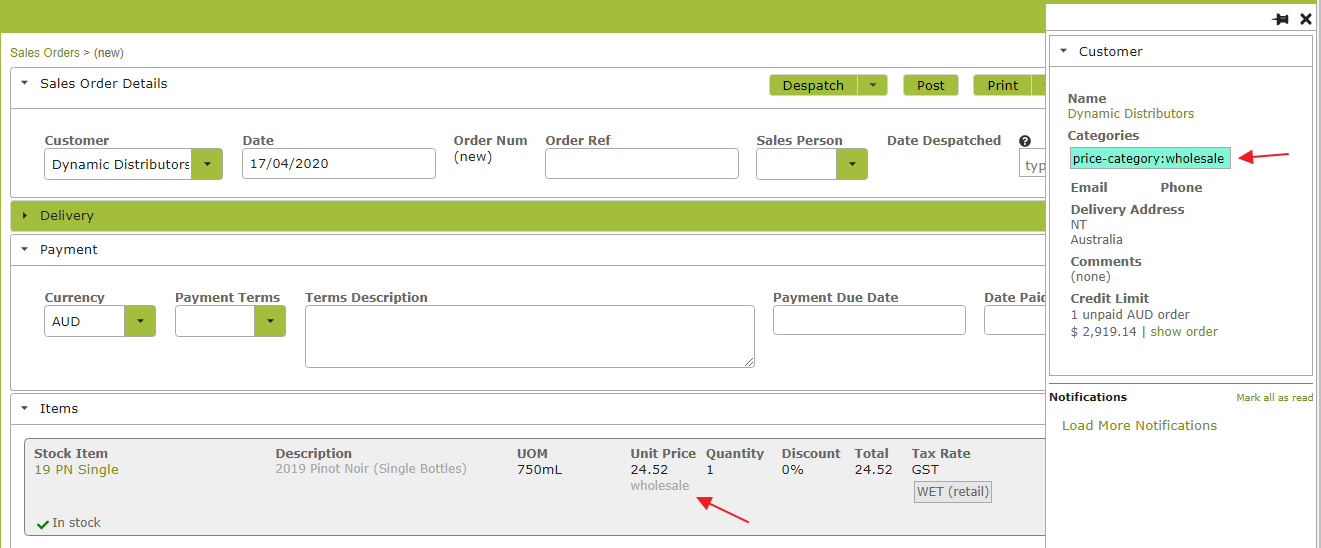
Auto-fill your sales orders with the correct prices for particular categories of customer, e.g. retail, wholesale, export (the categories are up to you), without having to select from a drop-down list. Doing this will also mark the sales order with the relevant category so you can easily see and check which price was used. (Note: This information will be hidden from the customer when you email or print the Invoice.)
Take the following steps to use this feature:
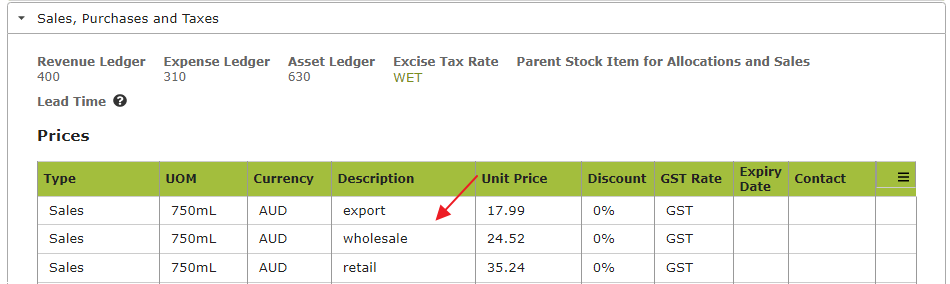
1. Add prices for each relevant category in the Prices table, in the Sales, Purchases and Taxes area of your Stock Items.
Or by using the Bulk Prices Importer.

2. Assign your customers pricing categories, either by free typing new categories into the Categories text field in the Contact

. . . or by adding them in Settings > Contacts > Contact Categories
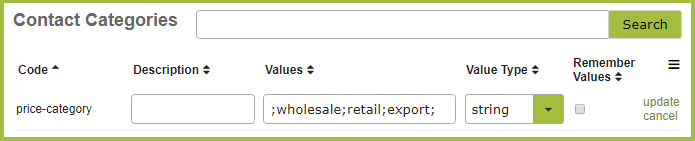
Note, the ‘Code’ (to the left of the colon) must be ‘price-category’. You may create your own category values (to the right of the colon) but they must match those you plan on using in the ‘Description’ column of the ‘Prices’ table in the Sales Item and the ‘Price Description’ column in the Prices Importer.
Now when you create a Sales Order, once you select the customer, currency and product, the relevant price will be auto-filled without you having to select it.