Allocating Lab Analyses
Overview
When you enter a Lab Analysis in the table, you now have to option to allocate it to a particular Harvest, Receival, Despatch, Winery Operation Vessel or Batch. This will make them show up when you are viewing something that has a Lab Analysis Allocated to it.
Lab Analyses are automatically applied to the Vessel they relate to if it has been specified.
How to Allocate a Lab Analysis Entry
In the Lab Analyses List, click on the gear button to the right of the entry you wish to allocate and select “Allocate”:

A box will pop up asking you which Endpoint you wish to allocate to. Select the appropriate one for what you are allocating to:
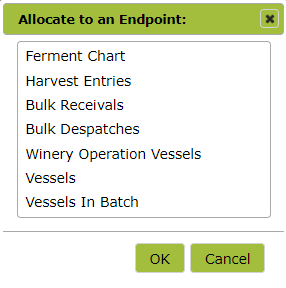
A list will show, with a search box. You can now search for and select the rows you wish to allocate this entry to.

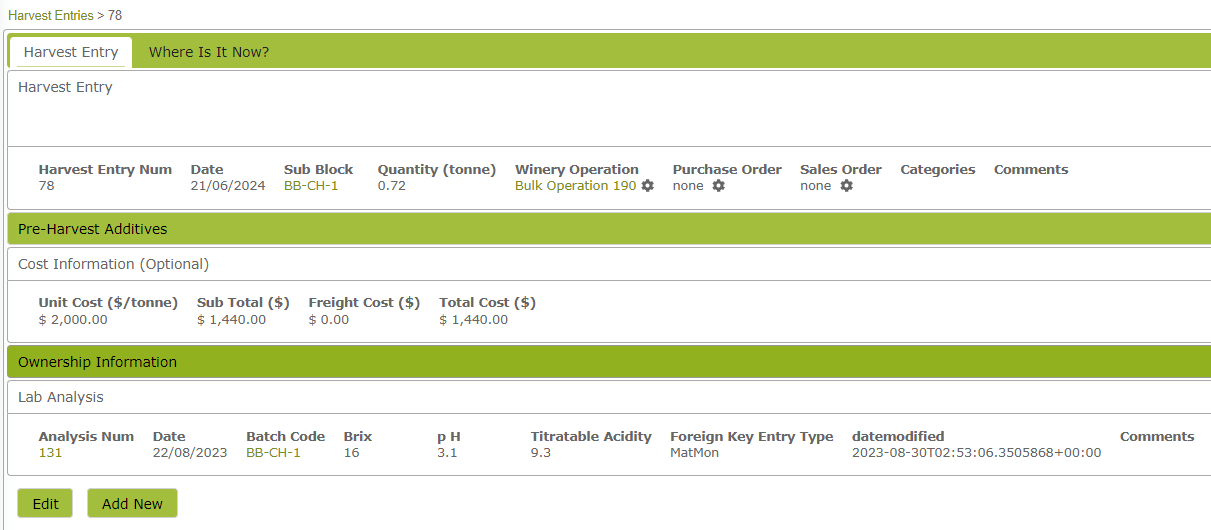
Once you have selected the rows you want, press “Allocate to Selected Rows”. It will perform the allocation and close the pop up box. Now if you view one of those Harvest Entries, you will see a new section that displays the Lab Analysis associated with it. This will happen on Harvest Entries, Bulk Receivals and Bulk Despatches:
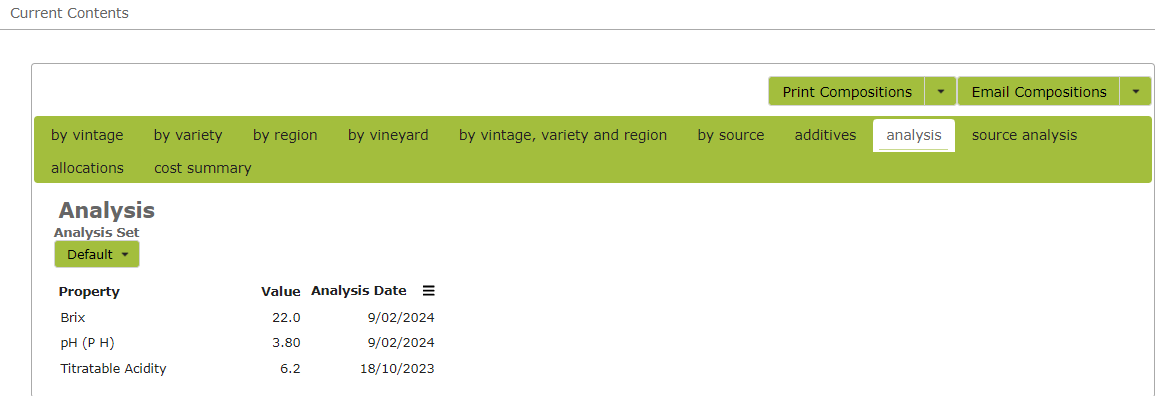
You can also see Lab Analysis Information in the Blend Components area on a Vessel or Bulk Despatch: