Stock Transfers
Overview
Transfers of Stock Items between Stock Locations can be recorded in one of two ways: Using the “Quick Transfer” feature on an individual Stock Item’s detail page, or creating a “Stock Transfer” document to move multiple products between locations.
In this document:
Example: Quick Transfer
If you wanted to, for example, transfer 10 Kg of PMS from the Warehouse (WH) to the Storeroom (SR), you would take the following steps:
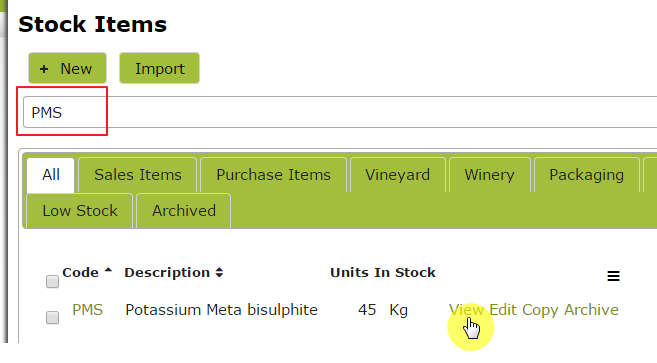
Go to the Stock Items list, and find the entry for “PMS”.
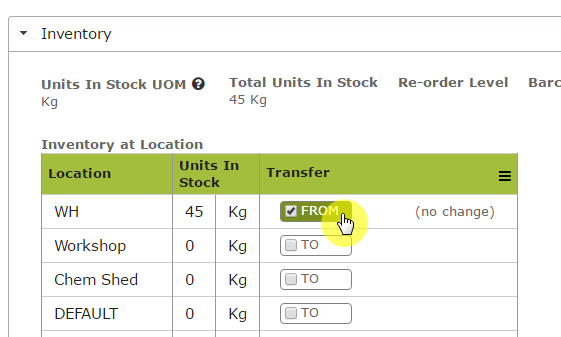
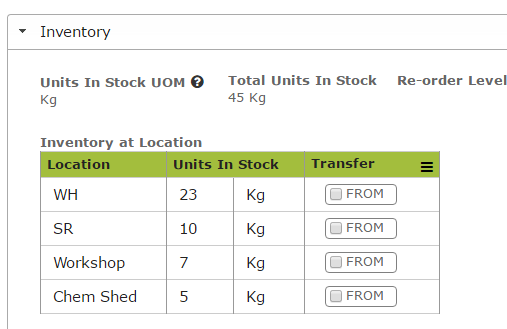
Under the “Inventory” section, you will see the current Units In Stock at each location for your Stock Item. Here, PMS has 45 Kg sitting in the Warehouse:
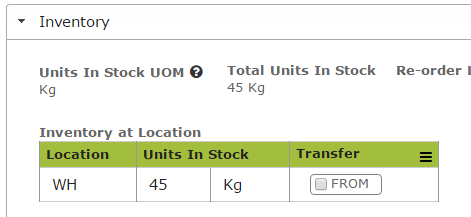
To transfer 10 Kg from the the Warehouse to the Store Room, press the “Transfer FROM” button in the “WH” row.
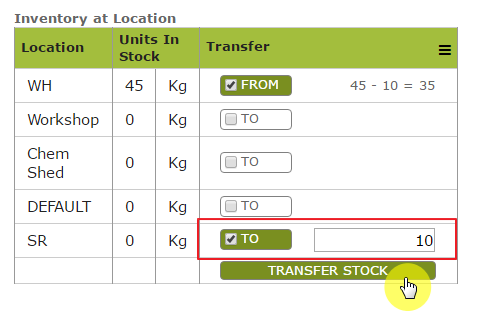
Now click the “Transfer TO” button next to “SR” (Store Room), and enter in the number of units to transfer (in this case, we are transferring 10 Kg). Once you are happy with the amounts you are transferring, press the button labelled “TRANSFER STOCK”. Your Stock will move between locations, but the total amount across all locations will stay the same:
N.B: You can select multiple “TO” locations as part of a single transfer.
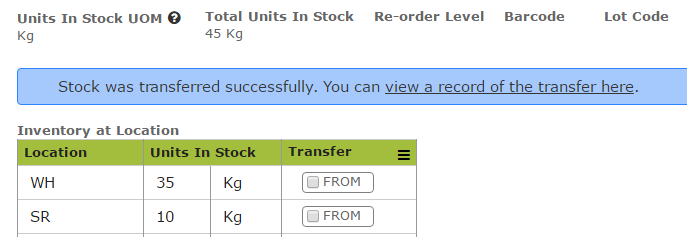
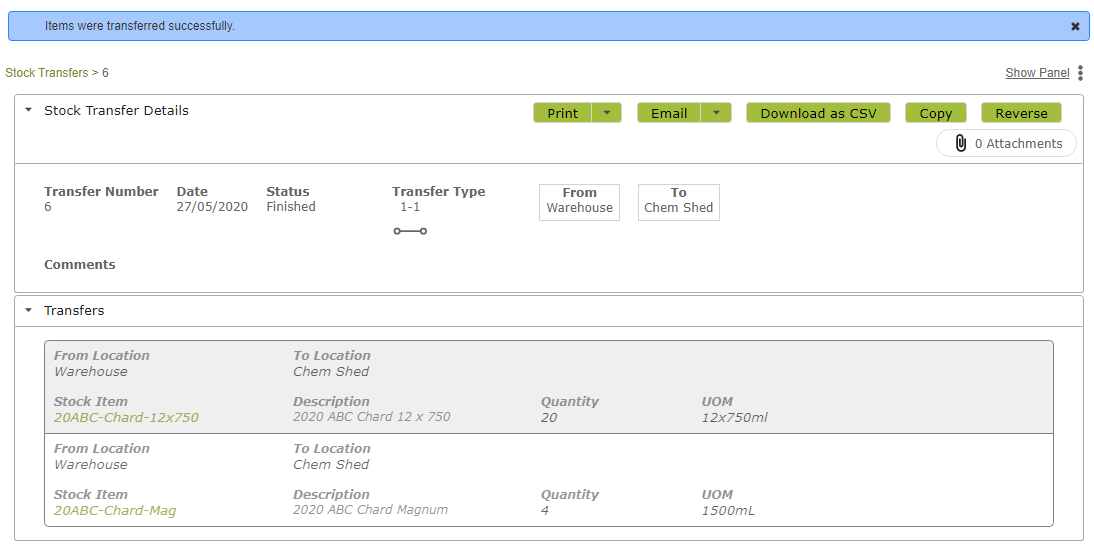
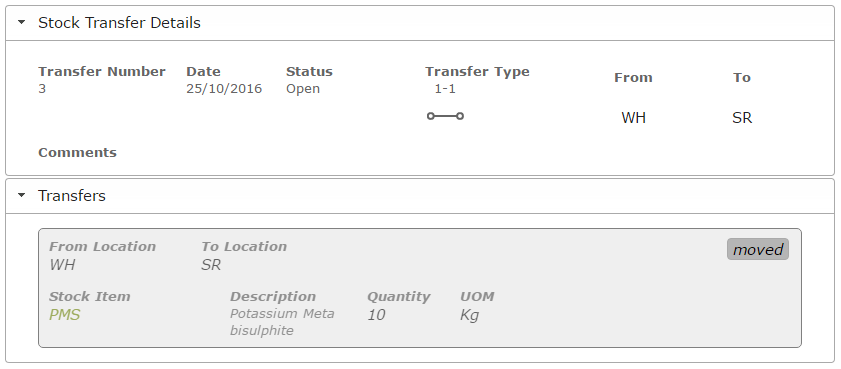
Clicking on the link to “View a record of the transfer” will take you to the automatically generated Stock Transfer document that shows this transfer happening. Vinsight will generate one transfer document to encompass all quick transfers on a single day. These generated documents will be automatically marked as “Finished” at the end of each day:
You can create these documents manually to record more complicated movements. This is covered in the next section.
Example: Creating a Stock Transfer manually
Stock Transfer documents can be created by hand if you need to describe more complicated movements of stock.
There are 4 different Transfer Types that you can use to help with creating a Stock Transfer:
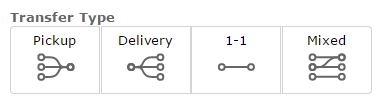
- Pickup: For moving Stock Items from multiple, different locations to a single destination.
- Delivery: For moving Stock Items from a single location to multiple, different locations.
- 1-1: For moving Stock Items between two single locations.
- Mixed: For moving Stock Items between multiple, different locations.
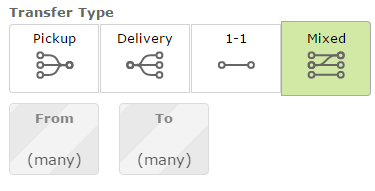
After selecting a Transfer Type, you will be able to select any single locations you are working with:
If you are using the “Mixed” Transfer Type, you will not be able to select any locations at the top level, and you must specify both From and To locations on a per line item basis:
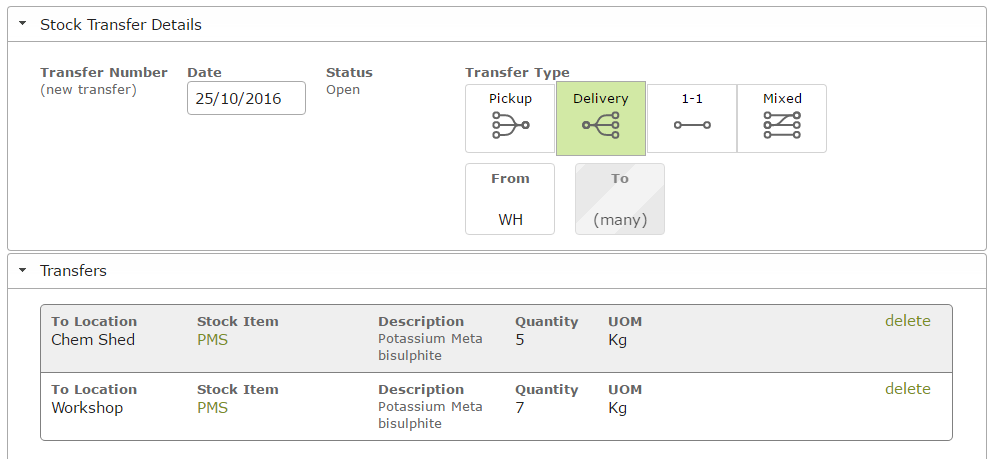
Once you have selected a Transfer Type and any locations, you can begin to add line items to the document, describing the movement of stock. For example, if we wanted to take PMS from the Warehouse and deliver it to the Chem Shed and the Workshop, you would create a document that looks like this:
Stock Transfer documents can be saved as Drafts before actually moving the stock:

Once you are happy with the transfers described in the document, you can press “Save and Complete” to move the stock in Vinsight:

Clicking on any of the links for “PMS” will take you to the detail page, where you can see that the stock has actually moved:
Reversing a Stock Transfer
To reverse a transfer, you can simply create a second transfer, using either of the methods detailed above to move the stock back to its original location.
To avoid re-typing a multi-item transfer, you can click the ‘Reverse’ button.
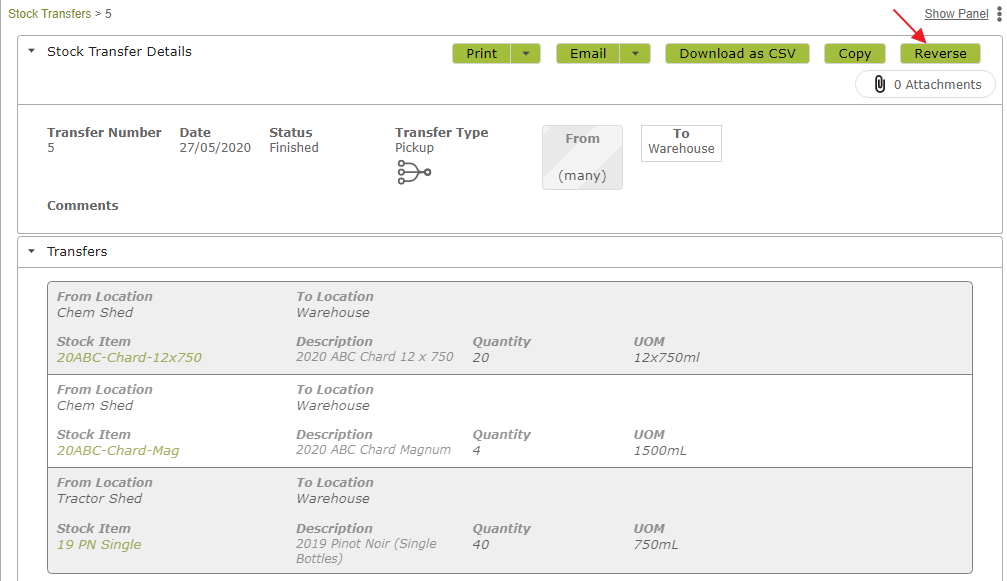
This will create a new draft transfer sending all the items back to their original location.
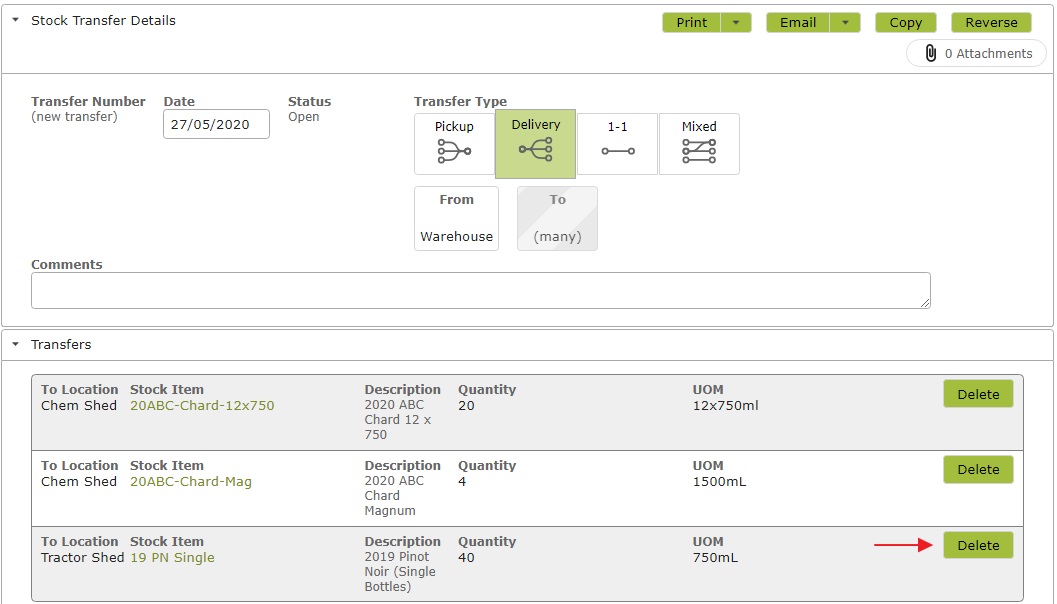
You will have an opportunity to edit this transfer before completing the Stock Movement. For example, if you only wanted to reverse the first two transfers listed, you could delete the third transfer, using the ‘Delete’ button shown. After deleting any items you do not wish to reverse, click ‘Save and Complete’ to complete the transfer.