Customising Purchase Orders for Printing or Emailing – Order Templates
Overview:
You can customise a Purchase Order before printing or emailing it and save that format for future use as an Order Template. This way you can use the Purchase Order to create an order, shipping documents or similar and can specify information to include or exclude. There is also some flexibility to change how these documents look.
In this document:
Customising Purchase Orders
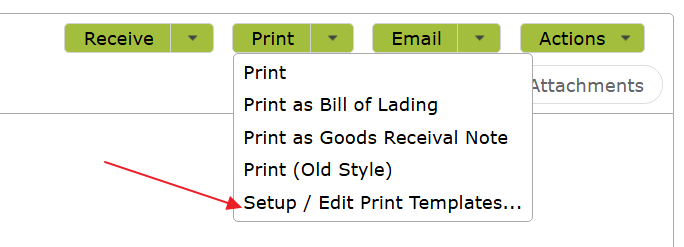
You can customise the format of your Purchase Order page by clicking ‘Setup / Edit Print Templates…” on the ‘Print’ drop-down menu . . .
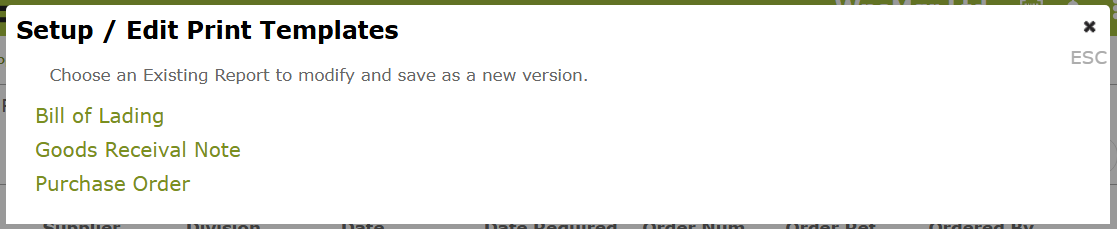
From there, click on the template you wish to edit. If creating a new template, it won’t matter which link you pick as you can change between printout types on the editing page as well.
Once you have the editing page open there are a number of things you can do to customise the templates.
- Themes
- Printout Types
- Logo and Company Settings
- Showing, Hiding and Re-Ordering Properties
- Conditionally Show or Hide Properties
- Moving Regions
- Stylesheet
- Saving Your Changes
Note: While this feature is new, we will retain an option to use the old-style print format. This option is listed in the Print drop-down list as “Print (Old Style). We will phase out the use of this format in time, so we encourage you to get used to the new template style.
1. Themes
Before you edit your template, we recommend selecting a theme.
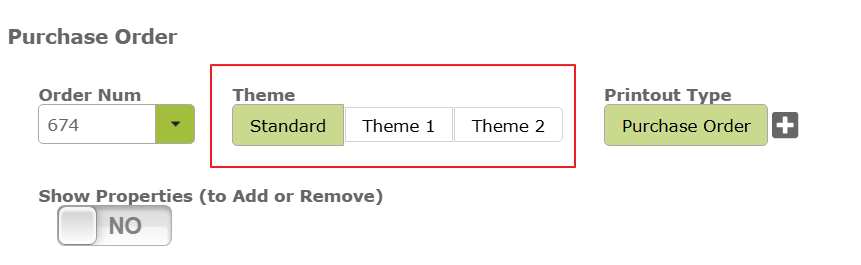
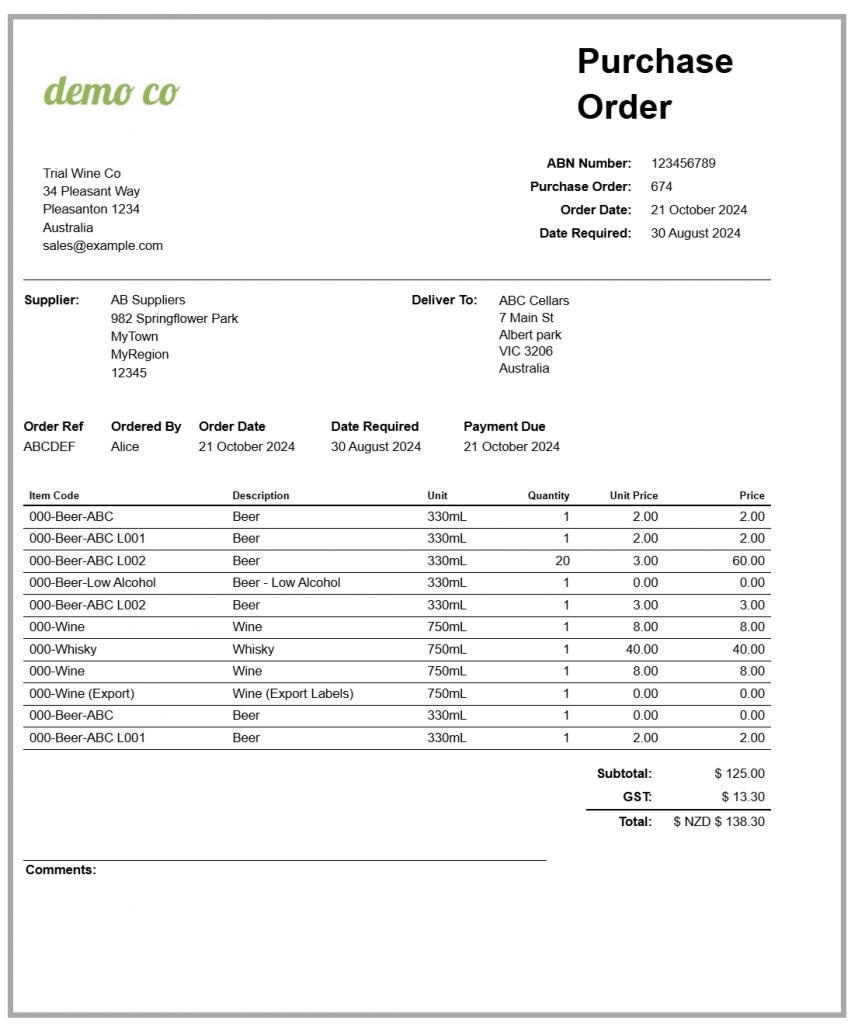
If you have been using the App for a while, the ‘Standard’ theme is the one that will create purchase orders that most closely resemble, the historic purchase orders created by the App. If you want to try something a little different, take a look at Theme 1. As you click between themes on the App, you will be able to see the changes they make to your orders.
Standard Theme:
Theme 1:
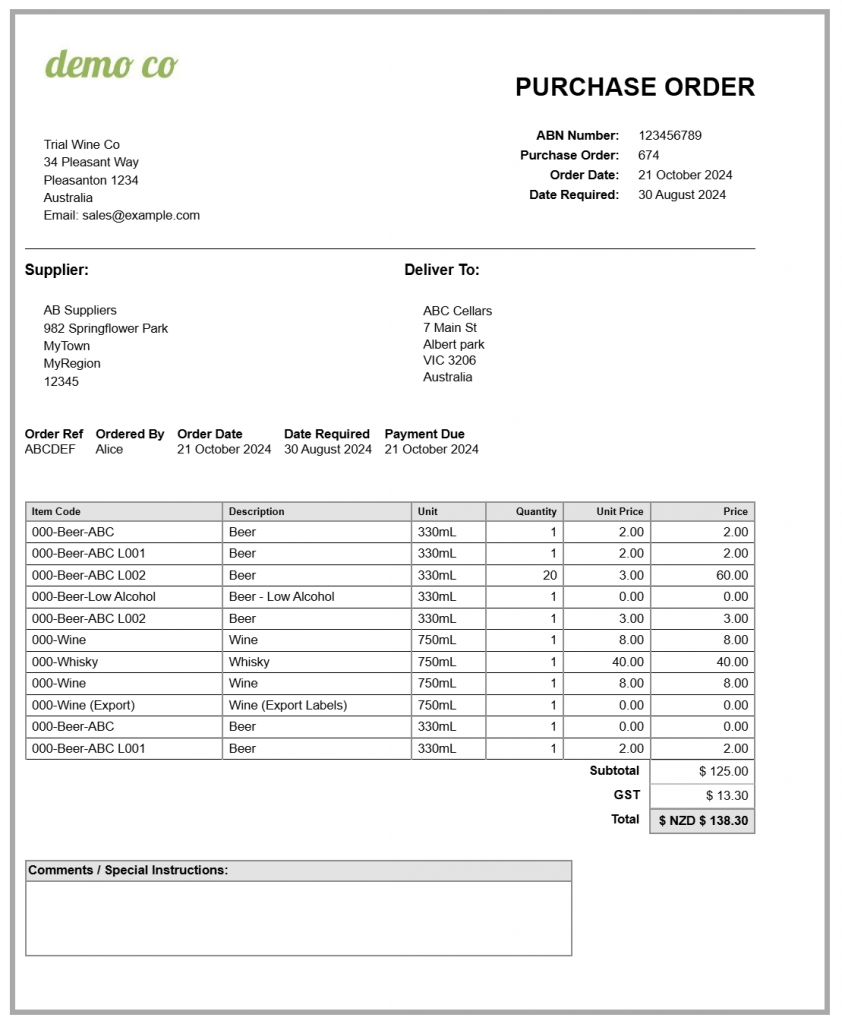
If you have some understanding of HTML and CSS, there is also some ability to customise a theme further. See ‘Stylesheet‘ below. We have included ‘Theme 2″, as an example of the types of changes you can make, if you have these skills.
2. Printout Types
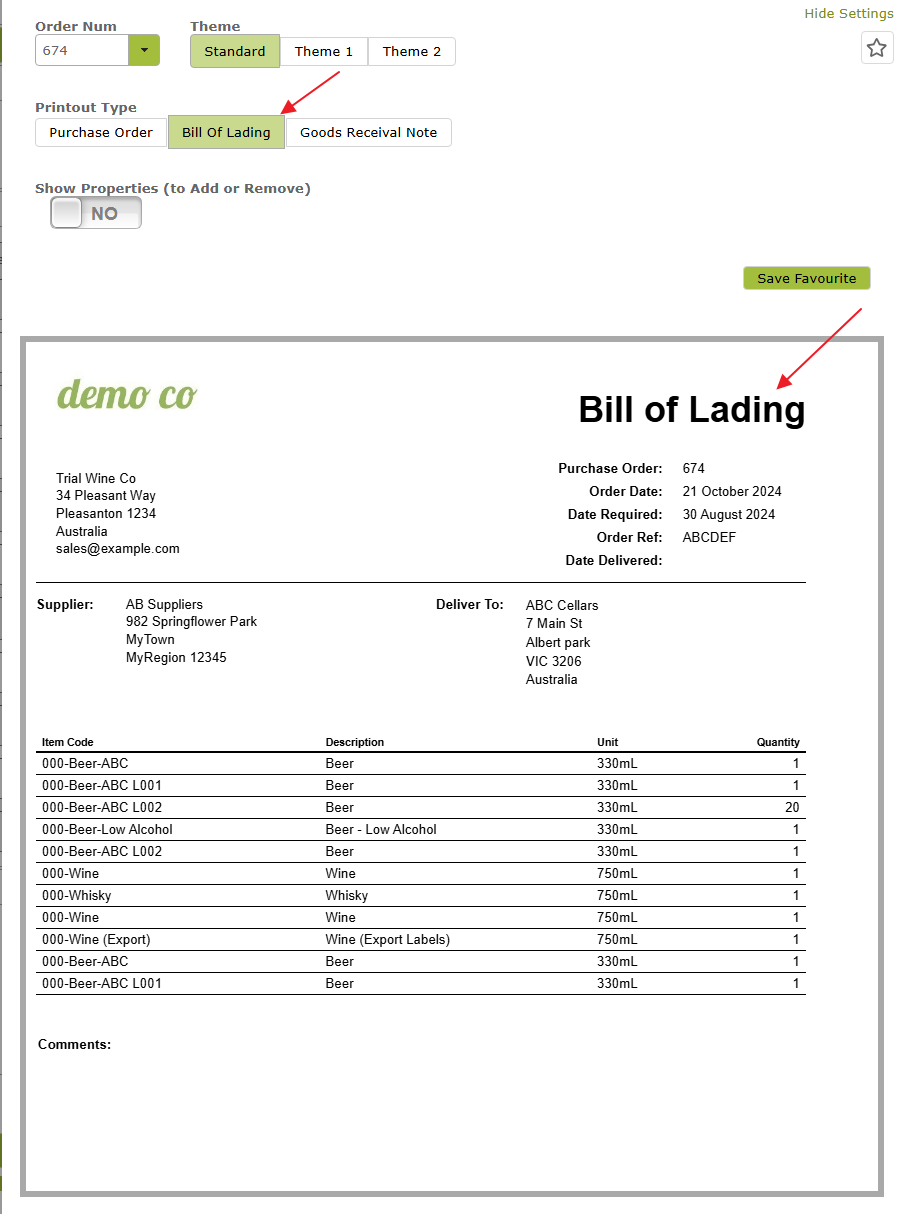
The printout types parameter will enable you to quickly select a printout type that includes some default settings, hiding and showing different regions depending on the type. For example, a ‘Purchase Order’ printout type will, by default, show pricing information, whereas a ‘Bill of Lading’ or ‘Goods Receival Note’ will not. You can however customise the exact information shown by selecting properties to hide and show yourself. See Showing, Hiding and Re-Ordering Properties below.
Selecting a ‘Printout Type’ will also change the heading at the top of the printout, so that it reads ‘Purchase Order’, ‘Bill of Lading” or ‘Goods Receival Note’ depending on the printout type selected. The ‘Generic’ type just gives you an option to print something out that more closely resembles the Purchase Order as it is displayed in the Vinsight App.
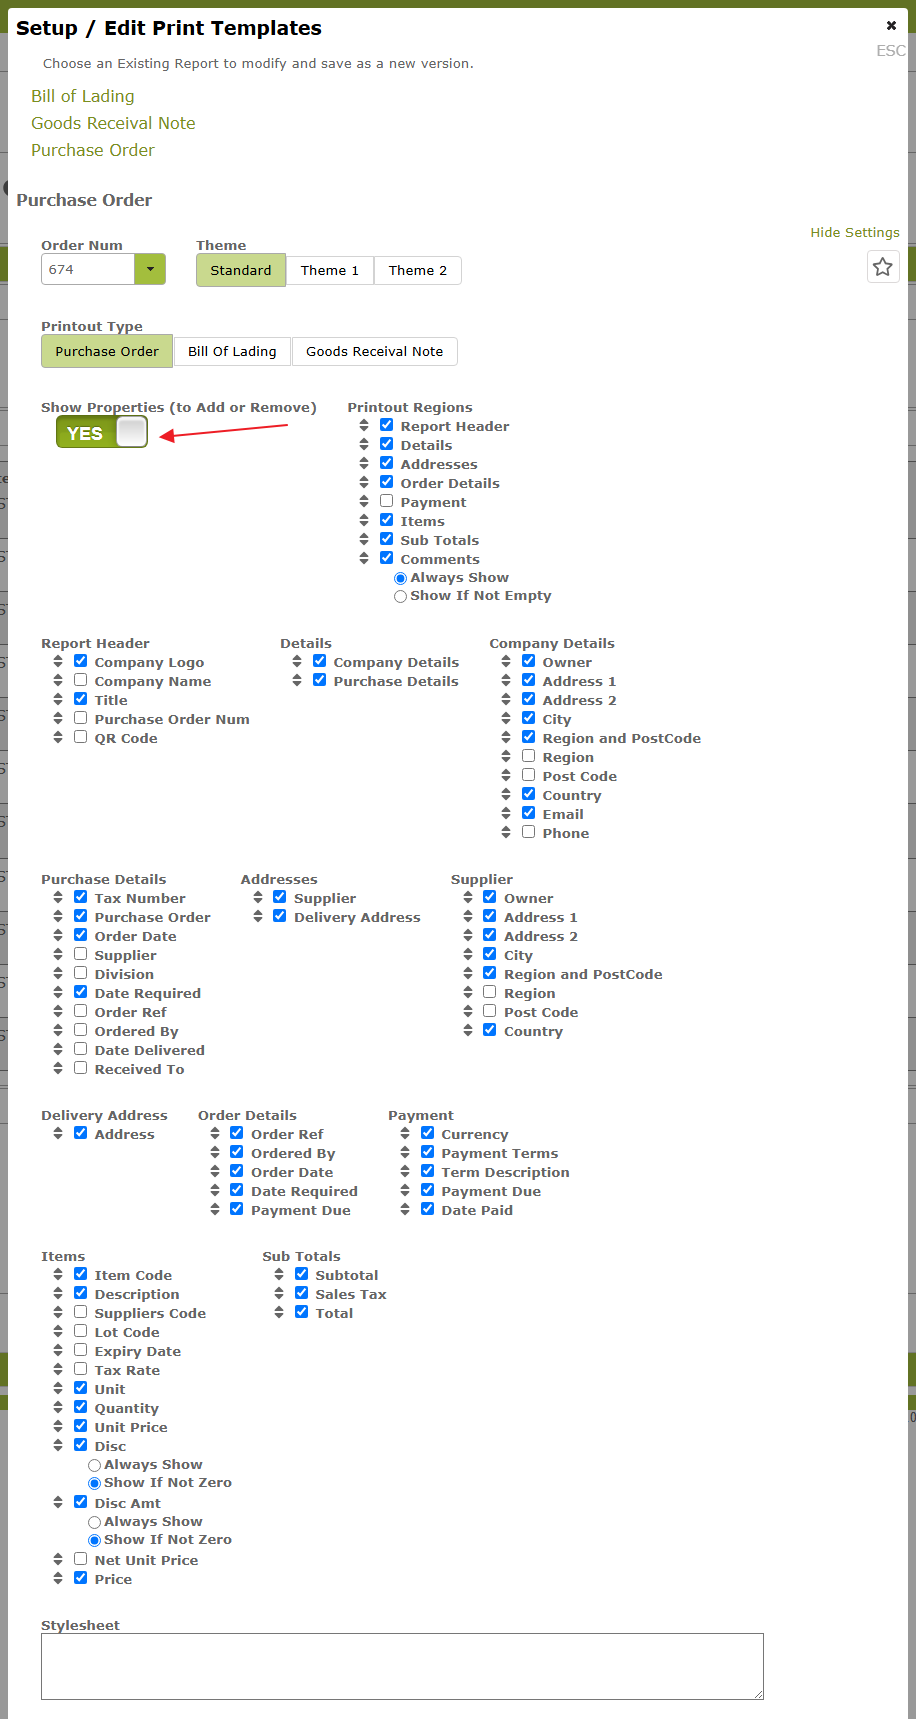
2. Show Properties (to Add or Remove)
To edit the individual properties to hide or display on the purchase order, toggle the Show Properties (To Add or Remove) button. This will bring up a checklist of properties you may wish to display on your order. You will be able to see the properties display and hide in real time as you check and uncheck them.
3. Logo and Company Settings
The template will use the logo and company name and address set in the division. Go to Settings > Company Settings and open the relevant division if you need to edit any of these details. The other information will reflect the detail entered into the Purchase Order.
4. Showing, Hiding and Re-ordering Properties
When you toggle ‘Show Properties (to Add or Remove) to ‘YES’ you will see are large number of items with listed with checkboxes next to them. You can use these to hide and show various regions and properties on the template. You can also drag and drop these check-boxed items to change the order of properties in the display. Some of the checkboxes such as those in the ‘Printout Regions’ list relate to entire regions of the template, while others, (e.g. those in the Items list) relate to individual properties.
In the following example, we hide and unhide some values in the Items area, and drag the properties into a different order.
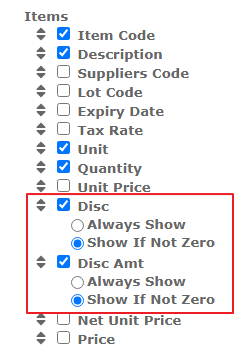
5. Conditionally Show or Hide Properties
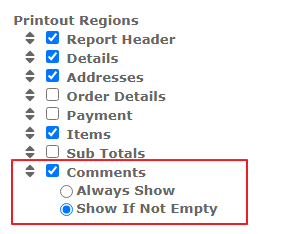
Some properties have the option of being shown only if certain conditions are met. For example, you can choose to show discounts only if they are non-zero.
Similarly you can choose to only display the comments area if something is written in it.
6. Moving regions.
In addition to re-ordering or moving items using the checkbox list, (as demonstrated above), the main regions of the page can be moved by simply dragging and dropping them on the template itself. In the following example we move the ‘Comments’ section to a different part of the page.
With other smaller regions and properties, you will only be able to move these using the checkbox list. In the following example, you can see how the order of the Supplier address and Delivery Address can be changed by dragging those properties on the checkbox list.
7. Stylesheet (Only for users who are already proficient in HTML and CSS):
A ‘Stylesheet’ box has been provided for people who would like to make simple changes to their template using HTML and CSS. You can write new css rules directly into this textbox.
In some cases, the selector can be automatically generated. Try clicking on the item you want to adjust. If the area selected changes to light blue, and a ‘New rule’ button appears above the Stylesheet, clicking the ‘New Rule’ button will enter the selector into the stylesheet for you. You can then add the rule you want to add.
IMPORTANT: Making adjustments of this nature, requires some knowledge and understanding of HTML and CSS. If you are not familiar with these languages, you should stick to the default options provided. Support for HTML and CSS-related issues is outside the scope of our services. We recommend consulting web development resources or forums for further assistance on these topics.
8. Saving your changes.
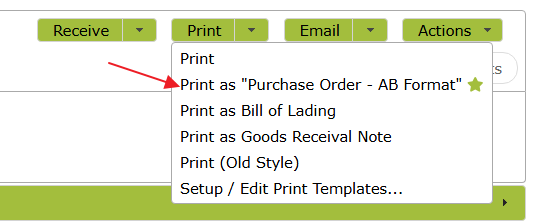
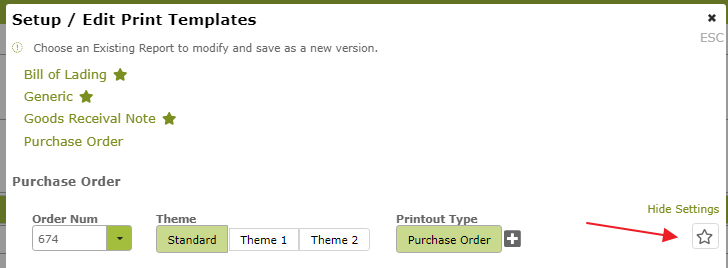
You will not want to make these changes every time you print a purchase or email a purchase order. To avoid this, once you have settled on a format you are happy with, make sure you save the format by clicking the ‘star’ at the top of the page . . .
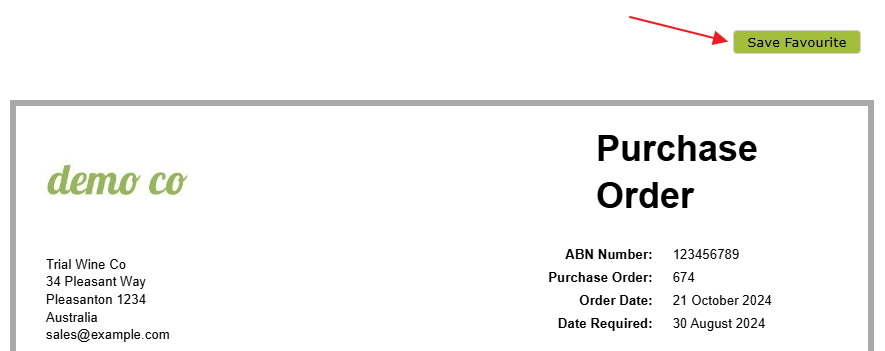
or the ‘Save Favourite’ button at the top of the order itself.
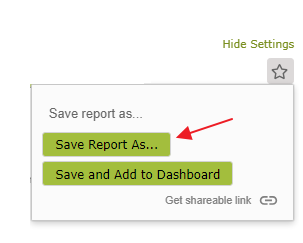
Click the ‘Save Report As…’ button
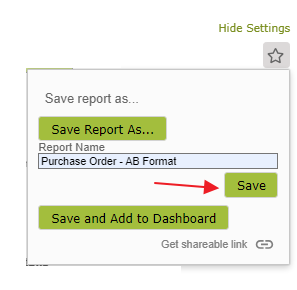
Enter a name for your template. (If you have created a template for a specific supplier, consider including their name in the template name.)
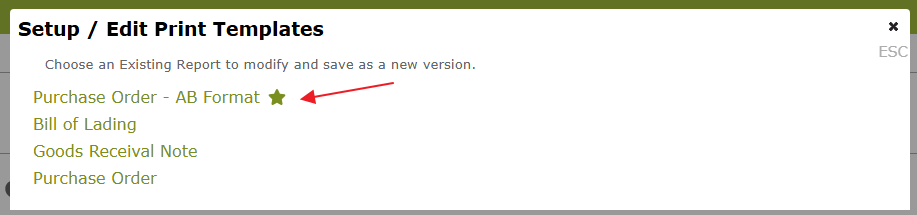
Once saved, you will see your new template in the template list.
The new template option will also appear in the ‘Print’ and ‘Email’ dropdown lists on the Purchase Order.