Bulk to Pack (Bottling)
Overview
The ‘Bulk to Pack’ is used when you are transforming bulk product into packaged product, for example bottling or, if completed together, bottling and labelling.
In this section:
Operation Details
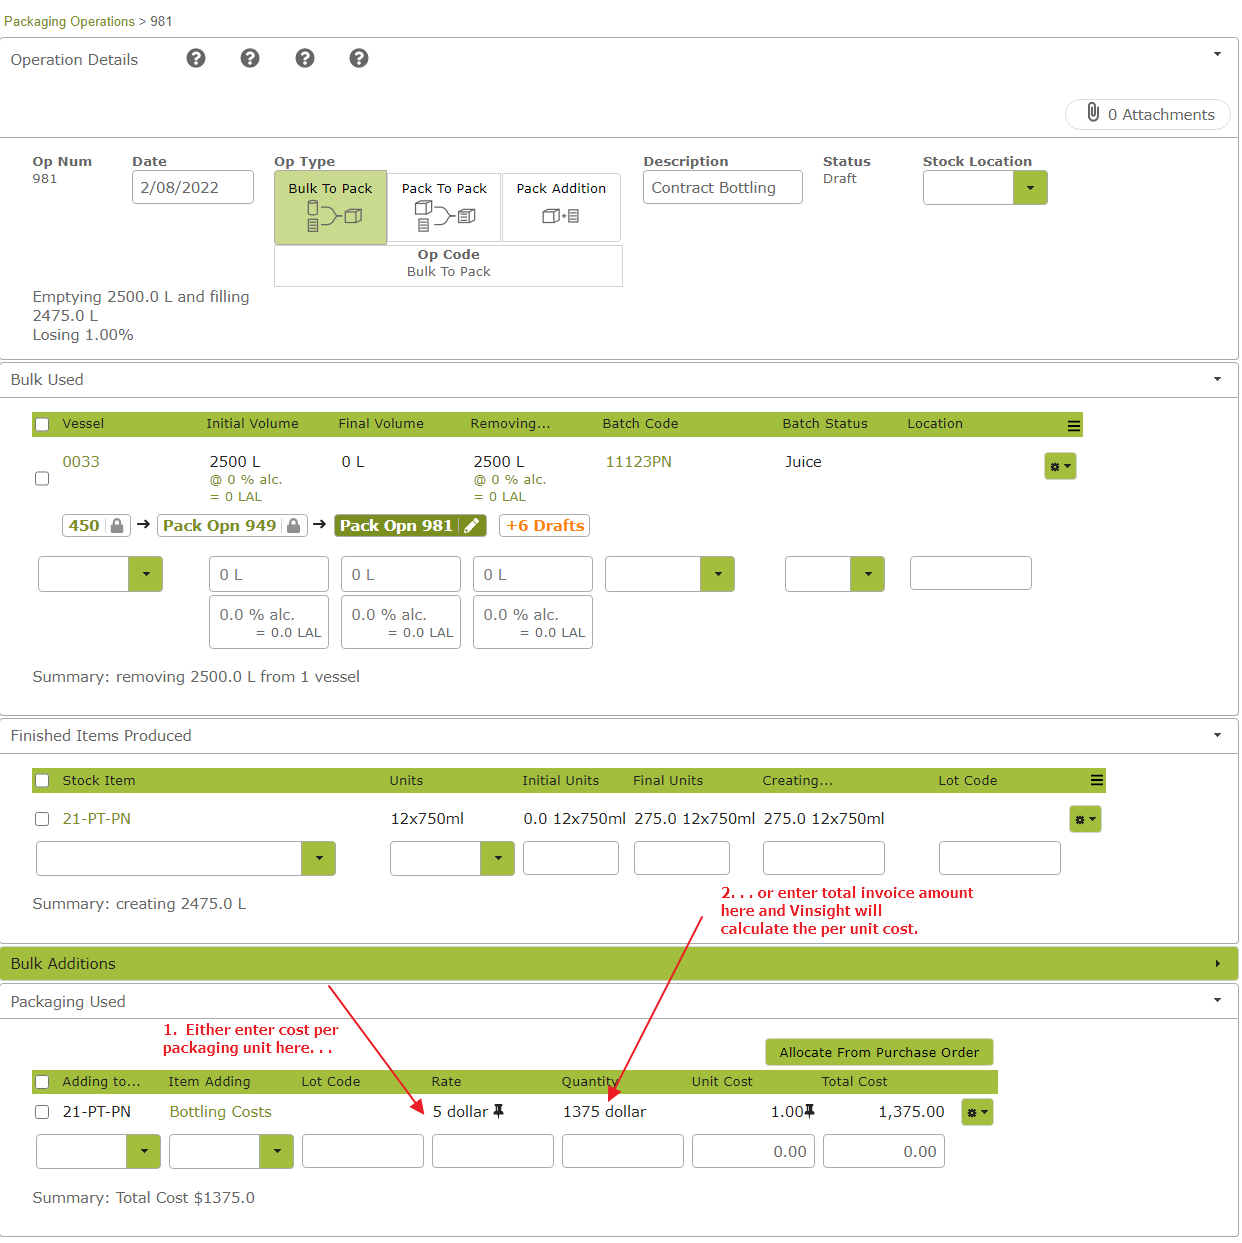
Select Op Type ‘Bulk To Pack’, add a description and stock location. You can also change the date here if you need to:

Bulk Used
This section describes the product coming out of vessels. It works in exactly the same way as the Source Vessels section of a Winery Operation.
Just pick a vessel from the drop down list, enter the transfer amount and the final volume will be calculated automatically.
To save the line, simply move off that line by clicking outside it, or on a mobile device, by hiding the on screen keyboard.

Finished Items Produced
This section describes the Finished Wine Stock Items that are being created by the Operation. Choose an item from the drop down list and then enter a “creating” amount. The units you are working in for each item will be the default Units In Stock unit of measure. Here you can also split items out by Lot Code.

Bulk Additions
You are unlikely to need this section when doing a ‘Bulk to Pack’ as any ‘non-packaging’ additions (such as yeast or PMS) should have been added using a winery operation while in tank. See Transfers, Adjustments & Additons.
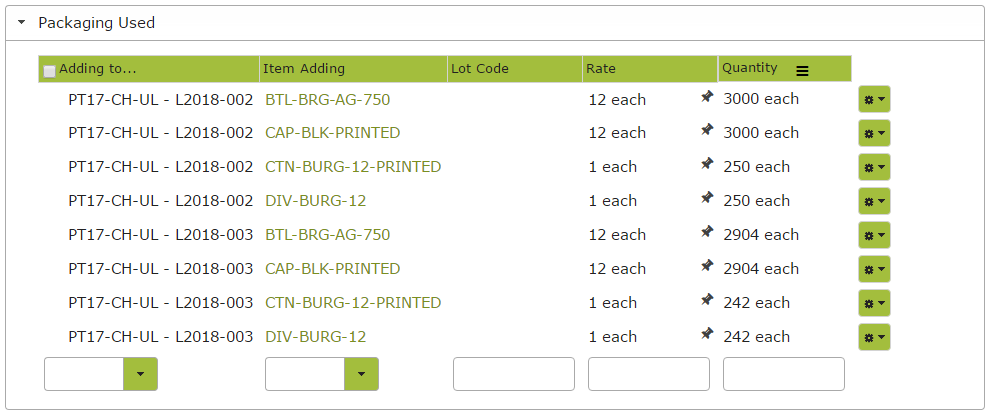
Packaging Used
This section works in a similar way to the additives area of a Winery Operation.
Any items you have detailed in the Default Components section of the stock item, such as bottles, caps and cartons will automatically appear here. (See Stock Items/Bill of Materials).
You can edit or add to this list as required.
Operation Summary
Once you have completed the ‘Bulk Used’ and ‘Finished Items Produced’ areas, you will see an “Operation Summary” towards the top of the page, that looks like this:

Or it might look like this:
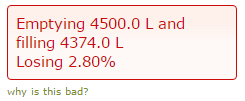
If this box is red, that indicates that the percentage gain or loss is outside of what is defined as “normal” by the Operation Code. “Vessel To Pack” has a variance of +/- 2%. This means that if you are gaining or losing more than 2% of the wine, you will see this box. This will also mean you will need to supply a Variance Reason when you try to complete the operation.
Pack to Pack (Labelling)
Overview
The ‘Pack to Pack’ operation transforms a packaged stock item into a new packaged stock item. You would use this if you are, for example, starting with an unlabelled bottled product and transforming it into labelled bottled product.
A Pack to Pack (Labelling) operation should be completed in much the same way as a Bulk to Pack. Areas of difference are set out below.
In this Section:
Operation Details
Select the ‘Pack to Pack’ Op Type, complete the description and change the date if you need to.
Finished Items Used/Finished Items Produced
Choose the packaged item you are dealing with from the Stock Item drop down list provided and, if necessary edit the initial and final units. Then select the Finished Items Produced and again edit units as required.
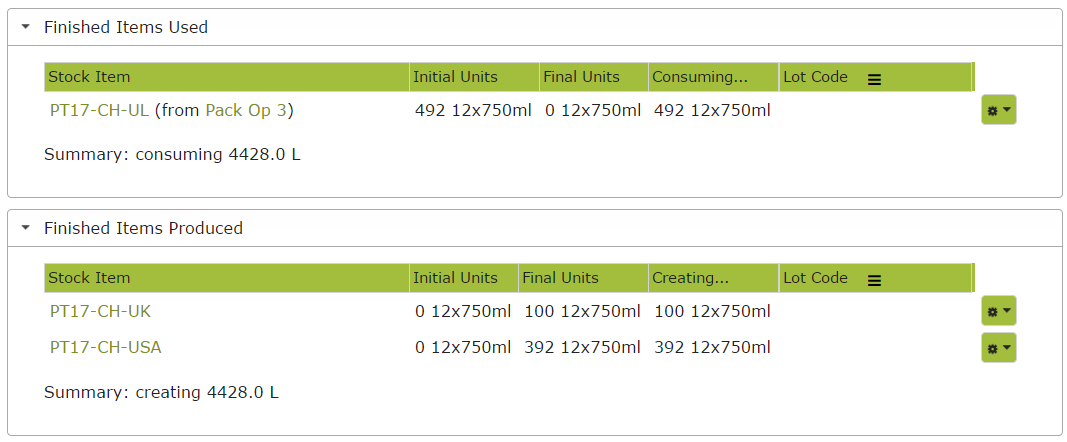
In the following example, we are using the 492 cartons of unlabelled PT17 Chardonnay (that we bottled in Packaging Operation 3) and transforming it into 100 cartons labelled for the UK market and 392 cartons labelled for the US market.
Using Lot Codes for Finished Items
On subscriptions that support Parent and Child Stock Items, if you do multiple bottlings of the same product, you should use our Parent/Child feature to manage Lot Code (read more here: https://docs.vinsight.net/count/stock-items#lotcodes).
Vinsight makes this easy to do when you are bottling, because you can write the packaging operation using the parent item before you know the lot code of the child item that you will be producing (eg if the lot code would contain the date of the bottling but you haven’t completed the bottling yet).
So begin by saving the operation as a draft using the parent code, and you don’t have to supply a lot code yet.

Once you are ready, put the Lot Code into the lot code field, and the system will see if the parent already has children, it will add a link to add a new child, or if the parent has no children yet it will add a link to setup the parent to have new children.

Either add a new child:

Or split the existing parent to have a new child:

Bulk Additions
You probably wont use this section during labelling. However, if using a ‘Pack to Pack’ operation to, for example, add dosage ingredients to bottled sparkling wine, this is where the ingredients would go. See Pack to Pack (Disgorging) .
Packaging Used
As with ‘Bulk to Pack’, if you have detailed default items used in the Default Components area of the Stock Item, such as front and back labels, these will automatically appear here. (See Stock Items /Bill of Materials). You can edit or add to this list as necessary. If no default items appear, simply use the drop down menus to add the packaging items being used.

Pack To Pack – (Disgorging)
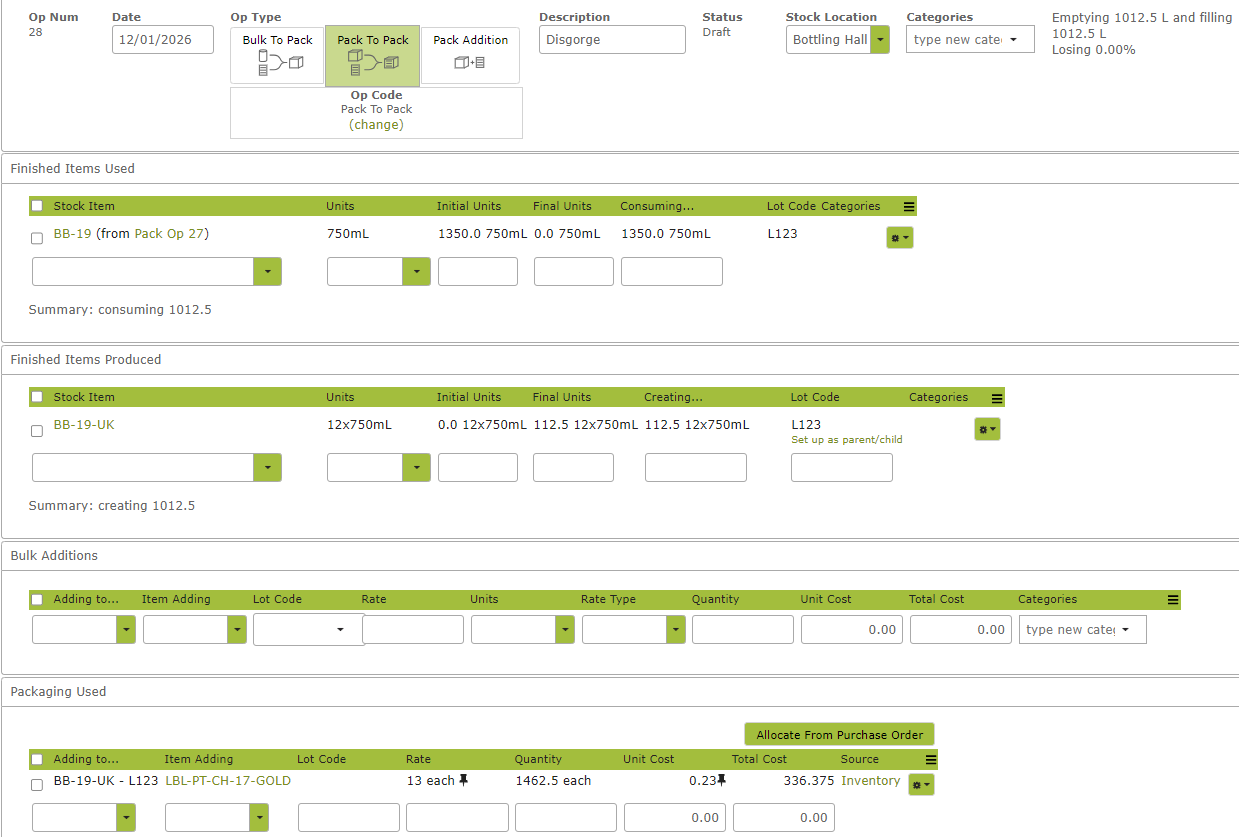
If you are adding a non-packaging item, (such as your dosage ingredients for sparkling wine) to a packed item, you would add this product in the Bulk Additions area of the Pack to Pack operation. An example operation is set out below:
Pack Addition
A Pack Addition operation is used to add any further items to an existing stock item. For example, adding a medal sticker after bottling and labelling. The operation is completed in the same way as a ‘Bulk to Pack‘ or ‘Pack to Pack‘ operation with the following minor differences:
Operation Details
Here you would select a ‘Pack Addition’ as the Op Type.
Finished Items Used
Choose an item from the drop down list. There will be no ‘Finished Items Produced’ section to complete as you are simply making an addition to an existing Stock Item, not creating a new one.
Bulk Additions
You will not need to complete this section.
Packaging Used
Select the item you are adding and the stock item you are adding it to from the drop down lists provided.

Allocating Packaging Used from Purchase Orders
When selecting Packaging Used for any of the Packaging Operation Types (Bulk to Pack, Pack to Pack or Pack Addition) instead of manually selecting the packaging used, you can ‘allocate’ the packaging used items from a purchase order. The main advantage of doing it this way is that we will bring purchased quantity and purchased unit cost into Packaging Used.

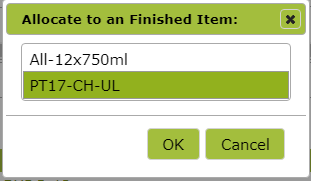
Select what Finished Item to allocate the Packaging Used to.
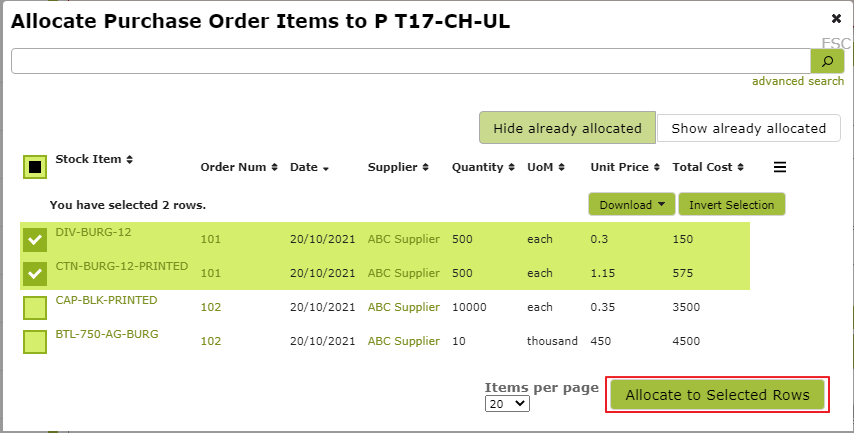
Select the Packaging Used items and allocate to selected rows.
Once selected you can see that the quantity and unit price from the Purchase Order is brought over and into Packaging Used. You can also see that there is a link at the end of each row that will direct you to the Purchase Order each Packaging Used was allocated from.

Partially Allocating from Purchase Order
You can also allocate a partial amount of Purchased Quantity to Packaging Used. Here I am about to allocate bottle caps and glass bottles to the finished item. In this case I have purchased more than what is needed for this Packaging Operation
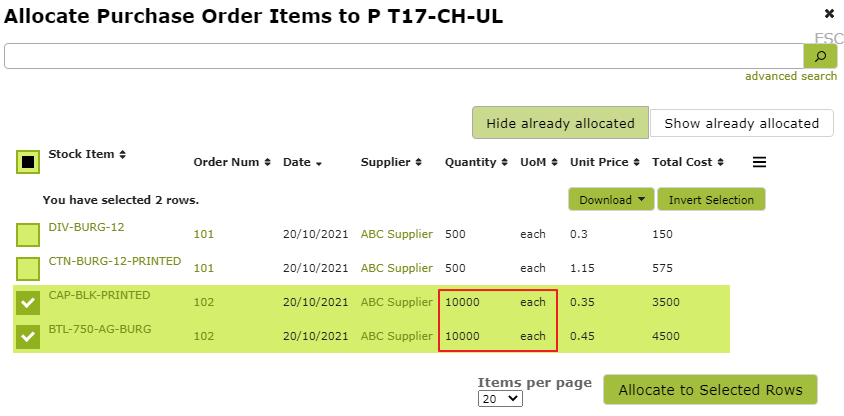

To fix this you can either change the Rate or the Quantity to the correct values

